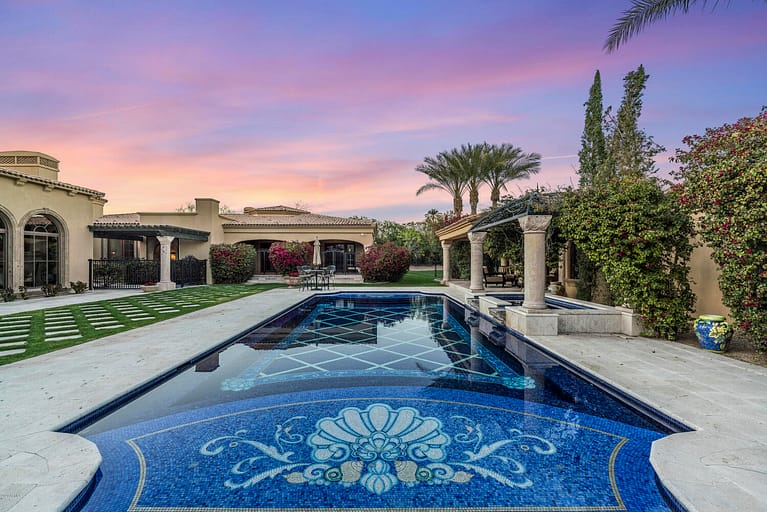
We take your design or inspiration and will create a custom mosaics design that's unique for your Pool, Spa, Kitchen, Bathroom or Mural
We hand cut and assemble your design with attention and precision, we also update you throughout the creation with pictures and videos of our progress.
We have a team of installers that are professional artisans that have over 25 years experience in installation of custom mosaics glass and marble mosaic tiles.


Every project we take on is a unique experience for our team. We take in many factors when designing for you the client.
Inspired in dialogue along with photos and digital designs we bring them all together to create a unique design for every customer. Creating a custom mosaics involves many facets, from the idea to the execution of the design.
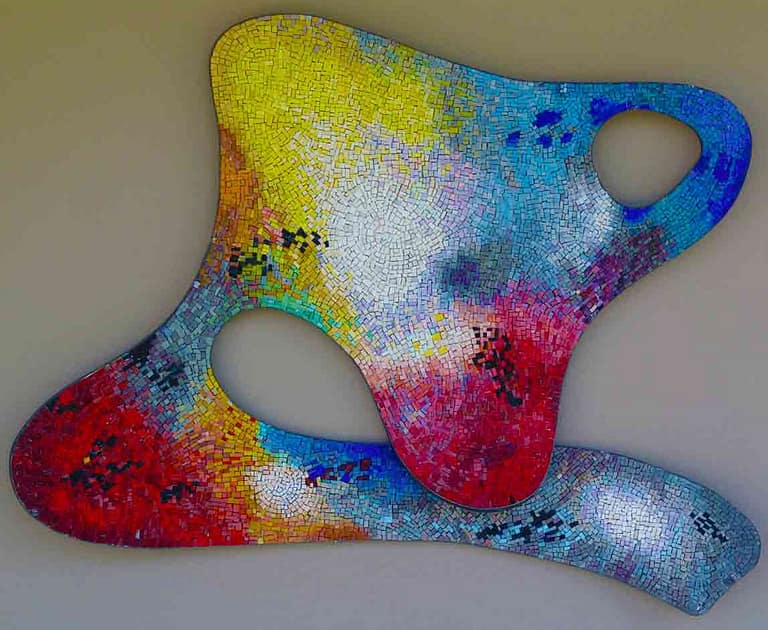
Mosaiclegs specializes in Architectural Custom Mosaic Design. Our custom mosaics have been widely specified for commercial and residential swimming pools, artistic murals, hotels, airports, and interior and exterior applications throughout the world.
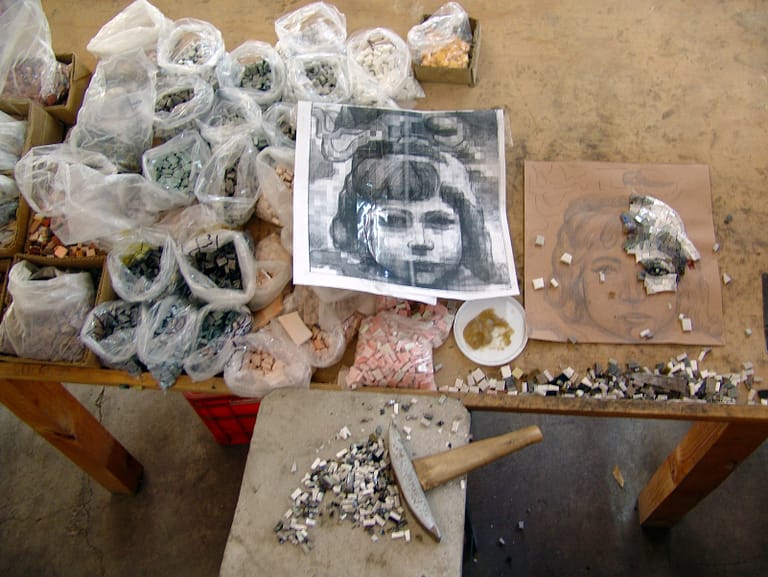
Our Byzantine Style Art studio preserves the ancient techniques of the handcrafted mosaic decorations using both Byzantine glass, Vitreous Glass and Marble. Our graphic computer center introduces modern techniques to translate images and their interpretation into colorful mosaics.
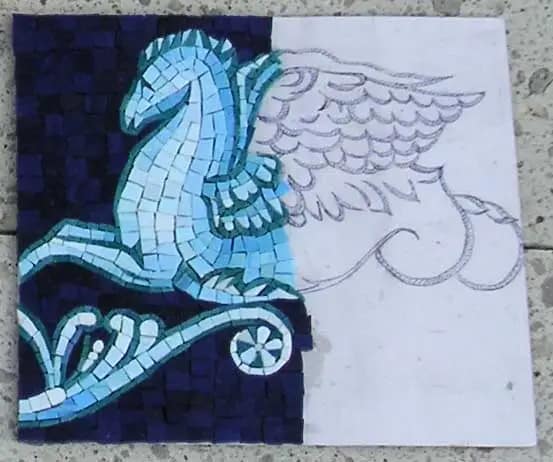
We work in a variety of methods of mosaic fabrication, we work with the old world style using smalti glass or smalto glass to create the design in a gamma of colors to match the design or concept. We work with smalto glass that can be cut or used to create a pixel like design that allows for very interesting and economical designs. We also work with Marble and river rock which can be very laborious and has a smaller palette of colors.
We begin by creating a concept and color schema for your project once the design for the custom mosaics is decided on and we talk about colors and style for your project. This is can be the most exciting and challenging portion of the process of artistry in mosaics
Working with skilled Master installers to bring the final touch to custom mosaics, specializing in pool applications is a large portion of our work but we also install kitchens, bathrooms, flooring using our mosaic applications. Decorative pool mosaics, custom mosaic tile, custom mosaic tile sheets, custom mosaic backsplash